Monday, October 1, 2012

Chocolate Eclair Cake

I''ve always loved Dunkin Donut's Bavarian Creme, unfortunately they don't have that here in the U.S., sad to say, however these Eclairs that I made yesterday turned out to taste almost the same as that donutI grew up tasting, My mom and I would frequent the Dunkin Donut store on our way to Baclaran church in the Philippines :-)
It's a very simple recipe, my only tip is to get all your ingredients ready and pre-measured. 


Ingredients:
1 c water
1/2 cup butter
1 tsp sugar
1 c flour
4 eggs, I usually crack the eggs first in a separate bowl rather than cracking it above the bowl you'll be using, to avoid egg shells
1 8 ounce package cream cheese, softened
1 3.4 ounce box instant french vanilla pudding - however, I did not have French Vanilla flavor, for this recipe I used 1 box of instant Vanilla Pudding, it was just fine
2 cups cold milk 
1 8 ounce container of Cool Whip OR Homemade Whipping Cream (which I prefer to make and use)
Chocolate Syrup, I used Hershey's for this one OR any Chocolate sauce of your liking

1. Preheat Oven to 400 deg. Lightly grease a 9x13 glass baking dish. I greased mine with butter. Set Aside. 

In a medium saucepan, heat the water and butter until boiling. Once it's boiling remove from heat.


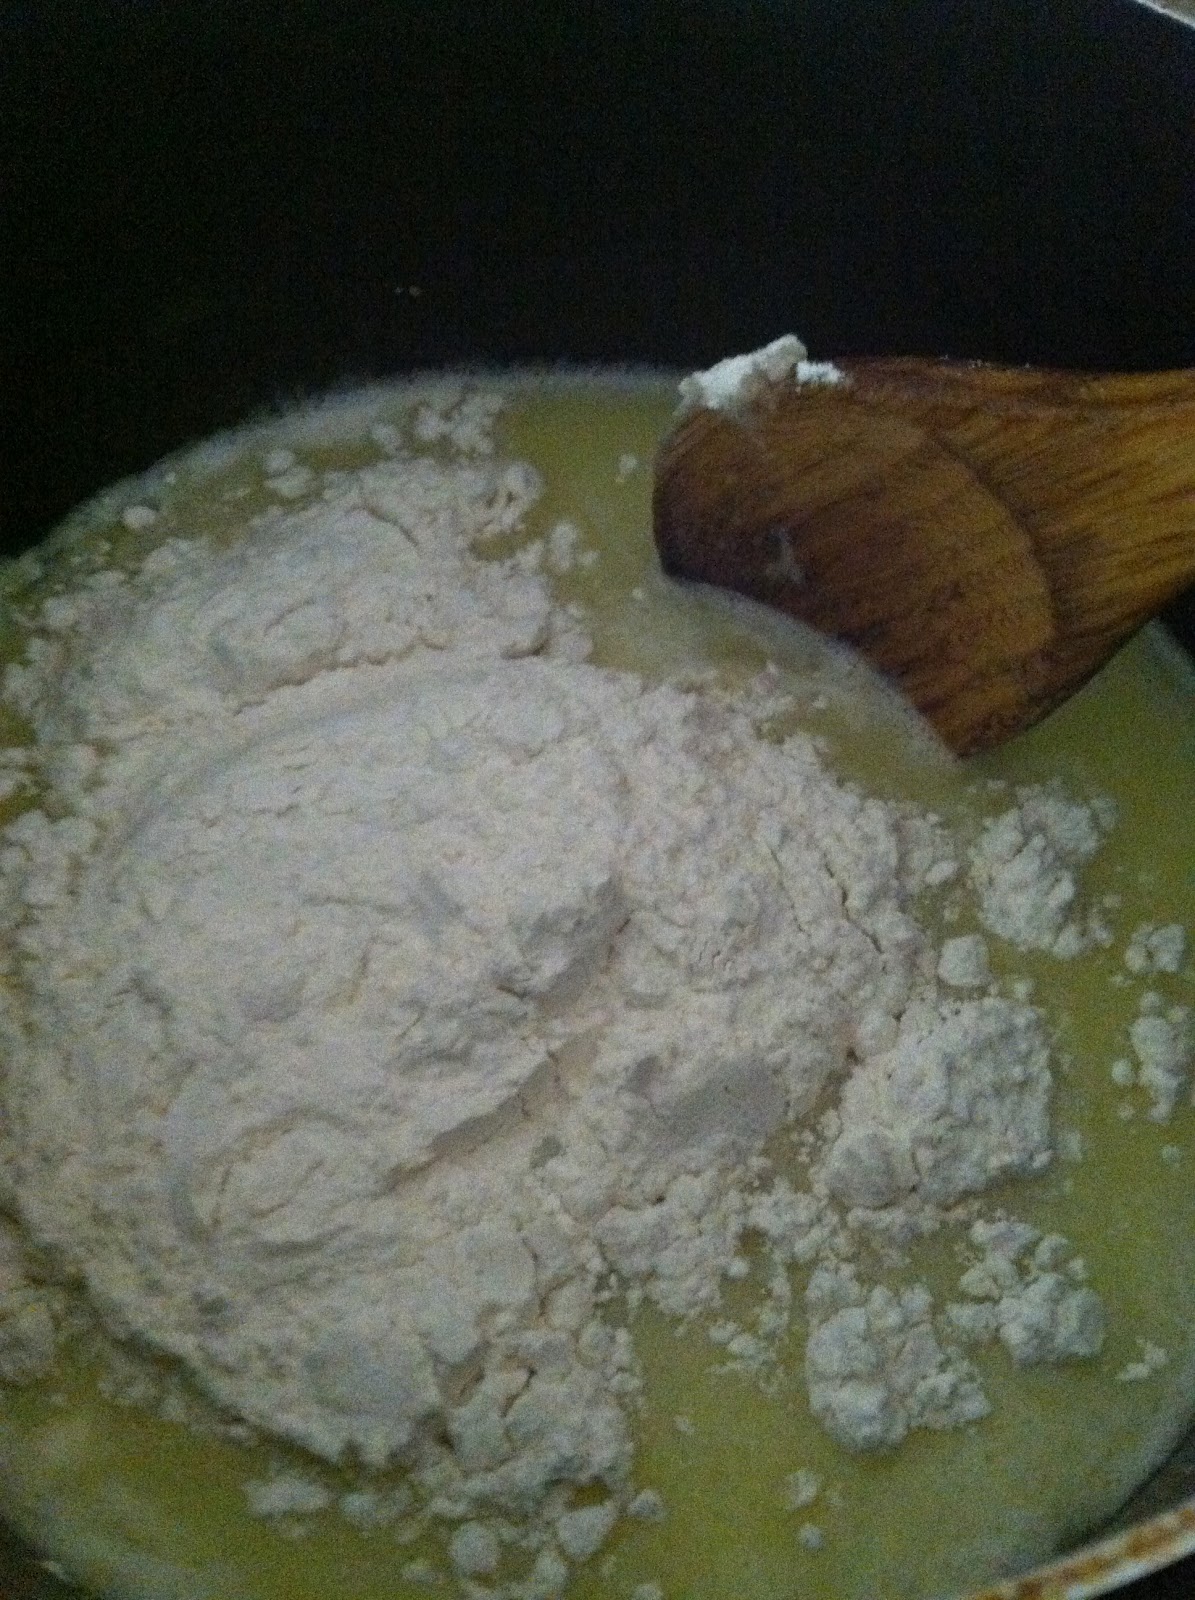
Slowly Stir in Flour and Sugar, incorporating it well with each addition.
 After doing so, it will look like this:
 Add slowly the egg one at a time:
 The cream mixture should look like this:
You want to spread the mixture (it will be thick) into a prepared baking dish. :

Bake it for about 25-30 minutes, I baked it for about 28 minutes (ovens vary). The cake will have a non-uniform shape. Remove from oven and let cool to room temperature. 

While the cake is baking, now it's time to make your cream mixture: Whip Cream Cheese using a electric blender:

 In a small bowl, combine pudding mix and the cold milk. Once Pudding is thick, combine with Whipped Cream Cheese, then Spread the cream cheese/pudding mixture over the cooled cake. (As you can see, I did NOT whip up my cream cheese that well, but it won't matter as the cream is so yummy!)


 Then, spread the whipping cream ** see notes for recipe OR spread the cool whip if you are using that over the cream cheese mixture:


 Fun Part, Drizzle with the Chocolate Syrup with a spoon or fork. Refrigerate for 2 hours to chill before serving. You can make this a day ahead or a couple of hours before your party. No need to cover while in the fridge unless you have kids who might dip their fingers in this yumminess!

** Whipping Cream : depending on the size of your dessert, for this one, I started w/ 1/2 cup heavy whipping cream, then continued to add a little more, beat with electric mixer or handheld mixer and slowly incorporate Powdered Sugar, for this I just eyeballed it and tasted it along the way for it's sweetness. Continue to beat until it forms soft peaks and not "runny". 

Saturday, September 29, 2012

SMILE


Have had your smile today?  When I found this picture, I could not help but post it on here. It's a clever one. Hope this picture will remind you that you don't need to frown or feel sad, if you are experiencing that today, make sure you "take a smile" tag with you! Be Happy!!


1. Smiling Makes us Attractive
2. Smiling boosts your immune system
3. Smiling releases stress
4. Smiling is contagious
5. Smiling changes your mood
6. Smiling lowers your Blood Pressure
I also added below a great song from Uncle Cracker simply called " Smile". Every time my husband listens to this song, he says that it reminds him of me.. (aww!)


Thursday, September 27, 2012

Lego Head "Cake" Pops

For My Son's 6th Birthday this year, I was contemplating on what to do in terms of something that would fit into his Birthday Theme.
At the time, he was into Lego "Ninjago". I told him that there is no way I could actually do "cake pops" that were Ninja's so I searched on the internet and saw these Lego Head "Cake" Pops, but instead of using "cake batter" I actually  used Marshmallows for the heads! Less Mess which is right up my alley!

Ingredients:
Lollipop Sticks
Large Marshmallows
Small/Minature Marshmallows
Yellow Melting Chocolate ( I used Wilton brand)
Cake Icing (Betty crocker in a tube), color Black
Styrofoam Block (I got mine from Michaels)

Since I've made this back in February, I don't have step by step pictures to show you, but I'll try my best to be very specific on my instructions!

1. First, open the bag of large marshmallows. Insert the Lollipop stick in the middle of the marshmallow and make sure the tip passes thru.
Tip: I found out the Large Marshmallows makes a HUGE Lego Head, so I snipped half of it.
2. Take a small/minature marshmallow and by using the same lollipop stick, insert the stick in the middle of the small marshmallow.
I place these on a Styrofoam Block, set aside.

3. At this time, it should look like this:

4. In the meantime, in a double boiler,  fill it with water half way, let the water boil. Once boiling, get another pyrex deep dish/ or any deep bowl (just not plastic) and place it on top of the pot while the water is boiling.
Pour theYellow Chocolate discs and stir it constantly until it's all melted and it has a ribbon like effect/ runny.
Tip: if it's too thick, try and add a little bit of canola oil and stir
5. Once you find the chocolate at it's consistency, grab one Marshmallow stick and dunk it in the melted chocolate. Tap excess chocolate on the side of the bowl then carefully transfer them to the Styrofoam Block to cool & harden, just like this:
 After it's cooled and hardened, Here comes the fun part! Make your own faces to each Lego Pops! I found it easier to buy the cake icing in a tube versus me making Royal Icing.


After this was done, I individually wrapped them in a clear favor bag and placed them on the party table for each kid to enjoy! I hope you can try and make these, they will sure be hit to any kids party!

Paper Bead Jewelry

I stumbled upon a video on YouTube a couple of weeks ago and saw Paper Bead Jewelry! This woman has amazing creations just by using any kind of paper (newspaper, restaurant menus, scrapbooking paper).
I decided to give this a try and yes I bought a kit (as seen below) that are ages from 8-11, but that did not stop me from trying this new hobby of mine.
The kit was pretty inexpensive, it was about $12 from Amazon. Upon the arrival of the kit, I was so excited to start on it. The kit comes with pre-cut paper, paper tool, glaze (to seal the ends) and of course step by step instructions.


After rolling the pre-cut papers, I placed them on a toothpick to dry for about an hour before I can assemble them:

I've tried both the BEAD and FLUTE designs:

I'm still in the process of completing my earrings, once they are done, I'll post some on here! Give these Paper Bead Jewelry a try someday!

Wednesday, September 26, 2012

Hello & Welcome!

My name is Darlene, I'm also known as "Bing" to the rest of my family & friends. Married to a wonderful person named Ray and I have a son named Zachary. I also share my house with a 4 legged animal by the name of Luna, She's a English Bull Terrier.

These 3 wonderful human beings (yes, I consider our dog a human) brings me joy everyday to my life. You'll probably find my 3 main characters on this blog from time to time.

I dived into the blogging world as I've seen some of my relatives and friends share their interests on the web which I thought was very cool and at the same time, get ideas for any party or meals or craft projects to do with my son.

I also showcase my baking dishes at work and one day a co-worker of mine mentioned that I should start a site or blog to put all your baking recipes in one place! I thought of it as a great idea and also to share my other interests which is just family adventures/trips and or my new found love of crafting.

I'm so NEW to this, so bare with me as I try to make this blog more fun to look at and most especially more interesting to follow!

I'll try my best to keep this up to date, share/post pics and will see where this blog takes me and you...

Enjoy reading!


Tuesday, September 25, 2012

Strawberry & Cherry Picking

Cherry Picking was always on our list of things to do late spring but it depends as to when the cherries are ready for harvest. This year we took a drive to Brentwood, CA and never really had the intention to do Strawberry picking as none of us would like to bend down for like an hour or so to pick strawberries as it's hard on our backs.
As it turns out, we arrived pretty early and somewhat drove into the parking lot of this Strawberry Ranch ( sorry, but I really don't remember the name as there are so many along that road). As you can see from the picture below, this ranch had such sweet and huge strawberries!


After enjoying the Strawberry Ranch, we drove further down the road and went to the Cherry Ranch:

My mom was having such a GRAND time picking these beautiful Cherries:
Note: Please Call the Ranch ahead of time before you take a drive out to Brentwood, as some Cheeries & Strawberry Ranches have different harvest dates. This year, it was around early June when we went.


SITE DESIGN BY DESIGNER BLOGS