Saturday, November 10, 2012

Green Thumb


I know I have not been on here for a while due to the amount of lovely school activities, work & home projects! Any how, I'm here to share my dad's (yes, we call it "dad's" garden) as he's the only one in our family that can make a lonely root/leaf bloom into a full grown plant! Sadly, My sister and I did not quite inherit his green thumb when it comes to caring for plants.

I was visiting my sister's house the other day where my parents live, they are situated in South San Francisco, despite the city being known to be Foggy all year round, where my sister lives, to our surprise, it's actually sunny & warm in her area!

We were about to go and have dim sum that day when we visited her, but she said that she will have to water my dad's garden before we go. So I ended up with her and my son outside, I was so amazed at his garden and the type of plants he's growing back there, so I ended up grabbing my camera from my phone and snapped a couple of pictures that I'd like to share with you.
 I could not get enough at how the different types of vegetables/plants he has growing at his garden. I sure hope one day I'll get the urge to try and create a garden of my own in my backyard, but not sure, as I'm still struggling (yes, struggling) to water my plants in my house! (no joke). I feel so bad for them, who reminds me to water them is my 6 1/2 year old, thank goodness!

Here are some pictures from his garden:


here you have 3 monkeys watching over the garden

Lovely Hydrangea

garden from a different view

this is a Philippine Lemon known as " Calamansi"


I remember when this Bamboo was only 3 ft tall

These look like eggplants, but I think it's another form of a succulent plant

these type of plants I think I can grow - haha!
My sister got a helper for that day, it's my 6 1/2 year old son:
He also grew vegetables: 
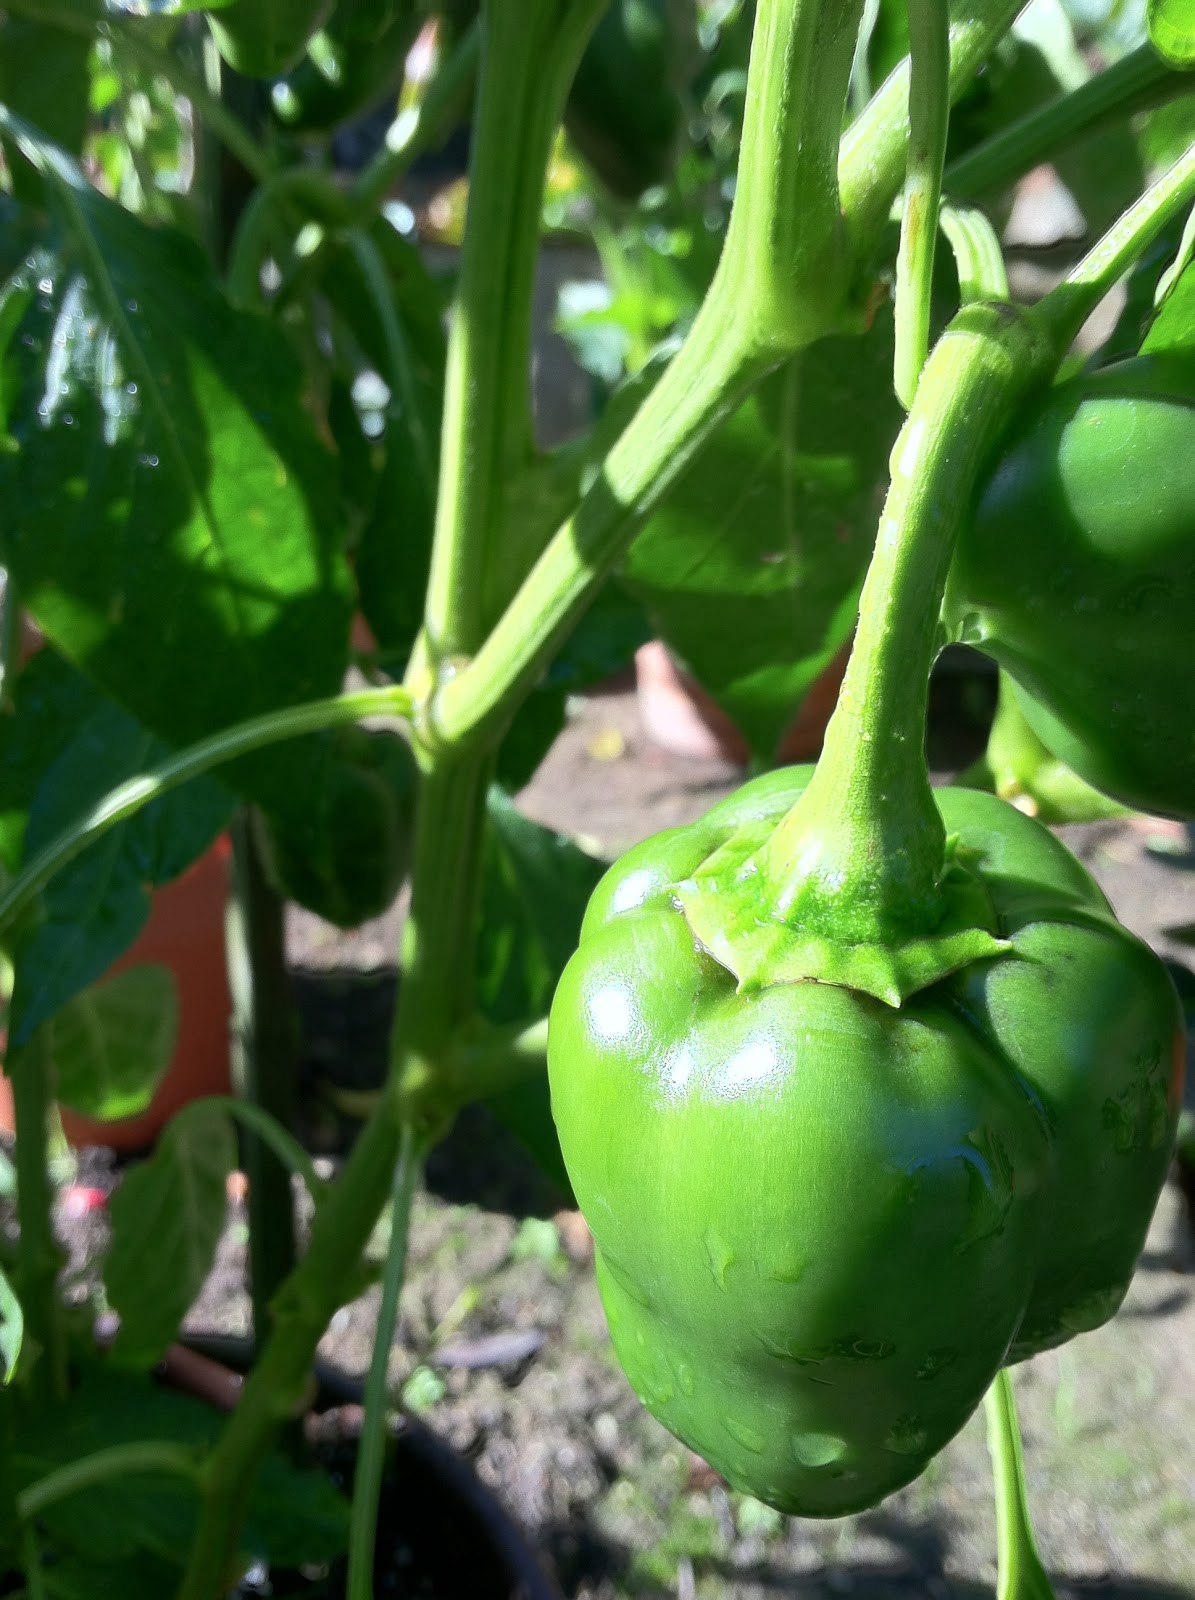
Green Peppers - I think they will only this big I was told

 look how bright red these turned out!

I got more photo's to share, here we go:

Rosemary

apologize, I'm not familiar w/ this flower, however, I managed to get a photo of an insect eek!


Spider plant


Tuesday, October 30, 2012

Love this Park in NYC...


Hello Fellow Bloggers & Followers,

Today I'm working from home as the NYSE is still closed due to Super Storm Sandy that hit the east coast yesterday and is still lingering today. I decided to blog some of these pictures while I'm on a break from reading emails.

The pictures that I'll share with you comes from my family vacation from the month of July of this year. My hubby and I were thankful that we went with New York as our vacation spot this year and we are so glad we did! There's just so much to see in that city that never sleeps, however, one special spot that I loved while vacationing there, was this park, it's called High line Park .

Our Auntie Bei was eager to show us this park to see how the city of New York preserved and then converted it into a park for all NY residents to relax, read a book, walk, enjoy the landscaping, beautiful flowers, food and so on.
It's a public park that they built on a historic freight rail line that's sits above the streets of Manhattan's West Side.
Reading the history of this park, it was founded in 1999 by the community residents and operated by Friends of the High Line.

When we got there, it was a little after 5:30pm, where the sun was setting in, it was a glorious but humid day since we were there the week of July 4th. It has a great atmosphere. I've read that it runs so long to across towns which we did not even attempt to go to the end of it! I know my hubby would say that walking is nothing, but I sure don't like to hear the word walking, same goes with my 6 year old.. haha! Anyhow, I talked my hubby to not walk all the way to the end, so we stopped and relaxed a bit.

Ok, so long of me babbling on and on, here are some photos:

This was the start of the park, loved the landscaping!

I wish I took a shot where the benches are that overlooks this glass window


Lola Bei had an idea that Zach stands in front of the glass window & wait for the NY Taxi's to drive by, cool shot!


Mi Familia! I look all tired here as the heat was getting to me, excuse my son's face reaction in this photo!

I love this photo, love how the sun is beaming behind the plants & my son contemplating about life

oh boy! he found his stash of m&m's, here he is sitting w/ Lola Bei before heading out

Another photo I took with the American Flag just peeking thru the plants

I was not able to take too many photos as my phone unfortunately was about to run of juice! ( I hate that when it happens). Anyhow, if ever you decide to visit the Big Apple, I encouraged you to visit this wonderful park but not in the summer (hot, hot!) unless your ok with the heat :-) I hope you enjoyed this short post for today!


Sunday, October 21, 2012

Paper Tissue Flowers.. Halloween Inspired


I came from the store and I was so in love with all the Halloween Decorations that are out now, the colors of Orange, Purple and Black are just a great combination of colors without it being too scary/dark but yet it has a festive feel to it.

While walking around the store, I couldn't help but think of a fun craft to do. A craft that I've actually done before when I was one of four room parents assigned last year when my son was in Kindergarten. We made this craft as a nice gift to present to the Principal, the school was celebrating "Principal's Day".  Since the class had 37 kids, yes 37! the room mom's split up the number of Paper Tissue flowers but of course not with these colors, it was more of pastel & primary colors :-)

With all the time spent making it, it came to a beautiful bouquet of flowers and inserted into a vase. I wish I had a picture of it to show it you on here. I just love this craft as One, the "flowers" won't die on you, and second, you don't have to water them!

I was thinking, this craft can be done most of the year to celebrate a holiday or any occassion! Ok, let's get to making these Halloween Inspired Paper Tissue Flowers:

What you'll need:
Paper Tissue (Orange, Black & Purple)
Scissors
Pipe Cleaners (any color)

Step 1:
Remove the colors that you only want to use from the pack. When I went to the store, some of them had other colors in the pack so I just separated them as you can see below:

                                               
 Step 2:
 Take your scissors and start cutting them in squares, about 4 inches x 5 inches:

As you can see, when I took the picture, it did not quite show the full square..oops!
         

Step 3:
I suggest taking about 6 square paper tissues and alternating them, like the picture below:

the second paper tissue from the right, looks like it's pink but I guess a different hue of purple, it turns out!

Step 4:
After gathering the paper tissue, stack them up with no color in order, but I suggest, like in Step 3, alternate the colors. If you want just one solid color, that's totally up to you. The outcome will still look beautiful!

Step 5:
In the picture below, after stacking them, what you want to do is fold the stack of paper tissue (short side) start to alternate the fold, over and back, about 1centimeter wide. It will start to look the a accordian once your done.


 Step 5:
Once done, you will notice that the paper tissue does not get folded evenly at the ends. That's actually just fine, Don't need to worry! This is why I love this project.


Now, here's where you want to add that "rose" effect to it. You can definitely leave the ends Uncut, but for me, I love the paper tissue flowers to look like a Rose so I ended up Snipping off each side of the folded accordian.

Step 6:
Now that were done snipping off the ends, take your pipe cleaner and let it go over the folded paper tissue about 1 inch or so,  then fold the pipe cleaner over to the other side, so that end will meet with the remaining of the "stem", then you want to start to twist it until it's secure.


Step 7:
You want to make sure the Pipe Cleaner is in the middle of the accordian, if it's not just adjust it. Here's the fun part!. Spread the paper tissue on both sides and slightly flatten it. You would want to take one layer from one side and lift up towards the center (see below pic). Then once one side is pulled towards the center, grab another layer from the other side and do the same thing.


Step 8:
Keep lifting up each side of the flower until you come to this:


see how beautiful it turned out!


Step 9:
It depends on how many of these you want to make, if your having fun, then I'm sure you'll be making more than just 10! I've already pre-made other colors but I just wanted you to see how it will look along with the other flowers.


Give this craft a try one day, I made this for both my mom & mother in law for Mother's Day last year and it was a delight to see their reactions!




Monday, October 15, 2012

Son's Book of the Week: The Crane Wife


Front Cover
Picture grabbed from Google http://books.google.com/books/about/The_Crane_Wife.html?id=9eEtQwAACAAJ


Coming home from school, my son was so excited to bring home from the school library this book called " The Crane Wife" by Odds Bodkin. At first, I was so curious as to why my son picked up this book from the shelf, he stated that " he loved the book cover and the snow" BUT little did he know that the book was about making promises & also teaches about not to be greedy.

The same night, I sat down and read him the book. My son did not seem interested at first, he was pretty much just glancing thru the pictures and said he wanted to return it. I told him to just give this story a chance and listen, and so he did and thank goodness he did.

My son and I enjoyed this book tremendously, and I would love for your kid(s) to give this book a read one day.

Brief description of the book:

When Osamu, a lonely sail maker, nurses an injured crane one blustery night, he never suspects that this simple act of kindness will change his life forever.
This retelling of a traditional Japanese folktale teaches readers young or old a lesson about life and love.  (grabbed from Amazon)


Sunday, October 14, 2012

How I started with a Green Smoothie..


First of all, I started hearing about Kimberly Snyder thru my interest as a fan of Channing Tatum & his wife Jenna Dewan Tatum and singer Fergie drinks this as well :) , she was their celebrity nutritionist at the time and I believe she still is. My husband and I wanted to take in vegetables everyday without us having to cook it.

 Coming from a family that is use to eating red meat and less vegetables most of the time, and I'm slowly creeping up in age, My husband and I decided to try our best to put in a healthy dose of greens into our system. 

So when I heard about her, I thought I'd read her book entitled: Beauty Detox, you can order her book here: http://www.kimberlysnyder.net/

The drink should help you with cleansing, clearing of your skin and so much more. I've learned so much from reading her book, for example, there's a huge difference as to when to eat certain foods and that foods are better eaten when paired together (ex. protein with a veggie instead of a starch product).

My husband and I got so inspired to give her smoothie a try, so we went out and splurged to get us a Vitamix! we were excited to give this healthy drink a go. You drink it everyday in the morning on an empty stomach. My husband has been religiously drinking it for the past 6 months, I on the other hand sometimes forgets to drink it on my way out, however, I end up making it up for it later in the day.

Give this smoothie a try, I myself is not a celery fan, so I only use like 1 stalk instead of 3 stalks.. other than that, we followed most of the ingredients she recommends.

Below, you will find her original recipe:

Kimberly Snyder’s Glowing Green Smoothie
Ingredients
-1 1/2 cups water
-1 head organic romaine lettuce, chopped
-3-4 stalks organic celery
-1/2 head of a large bunch, or 3/4 of a small bunch of spinach
-1 organic apple, cored and chopped
-1 organic pear, cored and chopped
-1 organic banana
-Juice of 1/2 fresh organic lemon
Optional
-1/3 bunch organic cilantro (stems okay)
-1/3 bunch organic parsley (stems okay)-1/3 bunch organic parsley (stems okay)

Directions:

Add the water and chopped head of romaine to the blender. Starting the blender at low speed, mix until smooth. Gradually moving to higher speeds, add the celery, apple and pear. Add the cilantro and parsley, if you are choosing to add them. Add the banana and lemon juice last.
The fruit and lemon cut right though the grass taste. Feel free to mix and match different greens and fruits, as these two specific food groups combine well.
Drink Healthy!  

Tuesday, October 9, 2012

Admiring Beautiful Landscapes..


This is a very short post and I just wanted to share with you quickly what I see everyday surrounding the buildings around the offices where I work, couldn't help but appreciate them.


The offices where I work is situated in a new development land that is now being occupied by the RoseWood Hotel in Menlo Park. Our offices share the same location. The beautiful landscaping of the property is often admired by my short walks around the complex.

I'd like to share some photos that I took during an afternoon break, plus I could not help but also enjoy the beautiful sunny weather that day!

this was a great way to show most of the photos, used a editing tool called FotoFlexer

I actually took a picture of this not knowing the sun's rays actually had a nice effect!

One of the 5 water fountains that surrounds the complex


This is one of the water streams that links to another office building

I would love to have a backyard like this! (only in my dreams)


Monday, October 8, 2012

Doodles & Art


Hi there and hope you had a great Monday so far! Well, this evening I was going thru my photos from my phone and I came across quite a few pictures of my son's doodles and some artwork. I always love kids art work, I keep my son's doodles and some of his classmates greeting cards from his birthday in a box. I can't throw them away, they are just too priceless. It's cool to see how a child expresses their feelings thru art.

I'm sharing some of my son's artwork and a brief story of when and where he doodled or made the art work.

Doodle No. 1: My son drew this while waiting in the hospital. He was waiting for his grandma to finish  her doctors appointment. He said that clouds with smiley faces represent happiness esp. the one with the balloon, the building represents the hospital, the person next to it is his grandma. His doodle of the train has a sad face, he said that he feels sad for his grandma to be in the hospital.


Doodle No. 2:   The picture below represents my son and his dad. He said that this is vision of him and his dad in outer space :-) 

Doodle No. 3:  He came home from his Kinder class (this artwork was from last year), he had so many extra Halloween stickers and he had no idea what do, so I gave him a blank piece of paper and after 30 minutes of his imagination, he came up with this! 


Doodle No. 4:   I came home one day and was feeling awfully tired. My son went straight to his bedroom and asked me for his art box with his crayons and paper, he said, "mom, I'll be back to give you a surprise, something way better than medicine!" and long behold, the picture says it all.... 


   Doodle No. 5    This picture was taken this last Easter at my sister's house. I just love how the colors came together with all the eggs, and how it produced a marble effect! Of course, the egg holder that came with the kit never was used by my son, he ended up just using his hands to dip the egg in the color paint! 
    I hope you enjoyed these pictures of my son's doodle/art thru his eyes.... 
 
SITE DESIGN BY DESIGNER BLOGS