Showing posts with label Baking. Show all posts

Friday, March 15, 2013

The BEST Cookie Mix: Brand: Momofuku Milk Bar

Hello! Happy Friday to you! I'm sorry that I have not  been on here. Let's get right to it. Last month was my birthday and my sister gave me this very cute attractive cookie mix named Momofuku Milk Bar. She had asked me if I've heard of this place when I visited New York last summer. I said "nope". Anyhow, she explained to me briefly the story of these delicious cookies that this bakery serves. Basically, Momofuku Milk bar is a bakery in NYC. They offer cookies, cakes, cereal milk, pies and more.

Christina Tosi is the baker of Milk Bar. She is a 2012 James Beard Rising Star Chef of the Year. If you want to read more on her bio, click here http://milkbarstore.com/main/press/

My sister gave me 2 boxes with 2 different flavors. One being CORN Cookie and the other a COMPOST Cookie Mix.
I opted for the Corn Cookie Mix first as I did not have the other ingredients at the time for the Compost cookie Mix. I normally don't like store bought cookie mixes as you know they taste so artificial. As for these, the ingredients are nicely packaged, labeled and all natural.

So, even though it was a prepared cookie mix, there were still directions that you had to follow to a tee in order to come up with the exact cookie they sell at the Milk Bar.
By reading the directions carefully, I was able to achieve the taste, texture of the cookie!!

By far, this has to be the BEST cookie mix I've ever tried. They sell them at Williams Sonoma. Click the link below: http://www.williams-sonoma.com/products/momofuku-milk-bar-cookie-mix/?pkey=e%7Cmomofuku%7C2%7Cbest%7C0%7C1%7C24%7C%7C2&cm_src=PRODUCTSEARCH||NoFacet-_-NoFacet-_-Feature_Recipe_Rule-_-

1. When you open the box, it comes with the packaged ingredients, and a small card with Instructions. All you do is just ADD butter and eggs. That's it! Simple.


It came w/ pre packaged fine sugar, & corn mix. All you Add are  1 egg and 2 sticks of unsalted butter (Both Egg & Butter Has to be Room Temperature - VERY IMPORTANT

2. Mix the room temperature butter and sugar. 

3. Next, Add the corn flour


Make sure you follow and beat on Med High for 10 Minutes until you notice that increased it's volume

4. Once done, shape into balls and place on top of a baking sheet lined with parchment paper, Cover w/ Plastic Wrap and chill for about an hour (Don't worry, the instructions are in the box!) I was able to stretch the chilled dough to about 14 balls instead of 12 which is what the recipe called for. Any extra dough you have left, you can chill it for about a week, wrapped in saran wrap.

5. After about an hour, remove from the refrigerator and place in the oven for about 13-16 minutes, following the directions carefully here is what you will end up! It was definitely a big hit w/ my co-workers and my hubby & son! You just have too, I mean have to try this cookie mix! 


Cheers,
Darlene

Thursday, February 28, 2013

(Post) Son's Birthday Goodies


Hi Everyone,
Remember that post I did about those scrumptious Vanilla Cupcakes? Well, I wanted to show you the end product of it after it's been decorated. As I mentioned, my son's birthday theme was Disney's Cars2! So here are some pictures that I had promised even though it's a couple of days late :)


Vanilla Cupcakes with Disney's Cars2 Cupcake Rings! I ordered them from Amazon

Aside from adding the cupcake rings, I also added these RACE checkered flag picks to the cupcakes too!

These are added on favors. This was just a plain sugar cookie . I did not have time to make my own, so I went ahead and ordered it from an organic shop called Parties "R" Personal
Cheers,
Darlene


Wednesday, January 30, 2013

Easy. Delicious. Vanilla. Cupcakes.


Hi Everyone,
I apologize for not posting any new desserts let alone any crafts for the kiddos. As usual, work, son's school activities are always present in my daily life, but I still love to blog as it is my little getaway from the real world. I'm pretty much tucked away in the home office right now while my son, dog and hubby are busy watching television and playing with our dog.

Anyhow, My son's 7th birthday is coming up and I always find that buying a huge sheet cake always goes to waste after each party. I was thinking this year (next month is his birthday) that why don't I try to bake regular cupcakes from scratch and ditch the "semi-homemade" recipes for a bit.

Trust me, homemade is always the best as you can taste the difference from a store bought cake mix versus making your own, yes, it is time consuming, BUT the taste is so delicious!

I researched high and low for a really good standard vanilla cupcake recipe that both adults & children would like. I came across this one from a blog called Brown Eyed Baker. I've pasted the link below to the actual recipe. The cupcake recipe is adapted from Cooks Illustrated, but the frosting is from Brown Eyed Baker
http://www.browneyedbaker.com/2010/10/28/vanilla-cupcakes-vanilla-buttercream-frosting/

The cake itself turned out really, really good according to my test panel which consisted of my hubby, son and a few of my co-workers! However, the butter cream frosting turned out overly sweet for my taste, but that can be easily adjusted to your sweetness (which I'll reflect in the measuring).

All in all, this recipe is a keeper! As my son's birthday approaches, I'll have to re-post some new pictures with the Disney Cars 2 cupcake rings and Checkered Flags on the cupcake.. so Stay Tuned!!

Ingredients:

Yields: 12 Cupcakes

INGREDIENTS:

Vanilla Cupcakes:
1½ cups all-purpose flour
1 cup granulated sugar
1½ teaspoons baking powder
½ teaspoon table salt
8 tablespoons unsalted butter (1 stick), room temperature
½ cup sour cream
1 large egg , room temperature
2 large egg yolks , room temperature
1½ teaspoons vanilla extract
Vanilla Buttercream Frosting:
1 cup (8 ounces) unsalted butter, at room temperature
1 1/2 cups powdered sugar  ( I changed this measurement from the original 2 1/2 cups)
1 tablespoon vanilla extract

DIRECTIONS:

1. Adjust oven rack to middle position; heat oven to 350 degrees F. Line standard muffin/cupcake tin with paper or foil liners.

2. Whisk together flour, sugar, baking powder, and salt in bowl of standing mixer fitted with paddle attachment. Add butter, sour cream, egg and egg yolks, and vanilla; beat at medium speed until smooth and satiny, about 30 seconds. Scrape down sides of bowl with rubber spatula and mix by hand until smooth and no flour pockets remain.

3. Divide batter evenly among cups of prepared tin. Bake until cupcake tops are pale gold and toothpick or skewer inserted into center comes out clean, 20 to 24 minutes. Remove the cupcakes from tin and transfer to wire rack; cool cupcakes to room temperature before frosting.


4. Using the wire whisk attachment of your stand mixer, whip the butter on medium-high speed for 5 minutes, stopping to scrape the bowl once or twice.

5. Reduce the speed to low and gradually add the powdered sugar. Once all of the powdered sugar is incorporated, increase the speed to medium-high and add the vanilla, mixing until incorporated. Whip at medium-high speed until light and fluffy, about 2 minutes, scraping the bowl as needed.
You can store any unused buttercream in the refrigerator in an airtight container; let it come to room temperature and then give it a quick whip in the mixer before using.
Let the cupcakes cool on the wire rack for about 30 minutes before frosting.


YUM!!! I hope you try making the Vanilla Cupcakes for a party or simple dinner at home! 
Cheers,
Darlene

Thursday, November 29, 2012

Crowd Pleaser: Sushi Bake

Yes, you heard that right SUSHI BAKE.

I was first introduced to this delicious dish when I attended my son's kindergarten potluck last year. I saw kids and parents just diving for this one after the other. I was curious to see what it taste like and I was so lucky to even had one!

After trying it, I went on a hunt in the parish hall to see who brought that Sushi Bake!

I finally found that person (thanks Pia!) whom I immediately asked for the recipe. She was not hesitant to share the recipe where she got it from http://www.yummysf.com/sushi-bake/ but she was right, it is very easy to prepare and make.

The ingredients in the Sushi Bake can be changed from time to time depending on the type of crowd you'll be in, like for example, some may not like tobiko (fish roe eggs) or baby shrimp. You can definitely change it up (for filipino breakfast plate lovers, try spam and eggs!).

To see another version of this sushi bake, you can visit my co-worker's blog at
http://www.naturallyblissful.blogspot.com/2012/10/sushi-bake.html

For this particular Sushi Bake that I'm posting, you will need:

Sushi Wrappers (flavored or Non-flavored) - I used non-flavored
1/2 cup mayonnaise or japanese mayonnaise
1 cup sour cream
3-4 cups of chopped imitation crab (which I used) OR 3 cans of real crab in water (drained)
1 bottle of Furikake seasoning
Cooked White rice

1. Preheat Oven to 375.
                                                         
2. Chop the imitation crab
3. Mix the mayonnaise, sour cream together like so :

4. Next, spread the cooked rice all over your 13 x 9 pyrex dish, pat it down with your rice spoon. I usually like to have more of the crab mixture and less rice, so I probably made the height of the rice about 1/2 inch (that's just how our family likes it).
5. Take your crab mixture and pour that over the cooked rice, making sure it's evenly spread across the rice.
6. Next, take your Furikake seasoning, and as for me, I like to start pouring (the whole bottle) starting from the sides but it's up to you really! I just wanted to make sure that the corners are taken care of :-) I have a tendency to start with corners when I bake (ex. brownies).
                    
7. Place the prepared pyrex dish in the oven. Bake uncovered for about 20 minutes.

8. While the sushi bake is in the oven, open your Nori Sushi Wrapper and grab one sheet. With scissors, cut and make 4 squares (as shown below) set aside:

9. Your probably already smelling the smoked aroma from the furikake seasoning by now! Ok, time to pull out the sushi bake (after 20 minutes have passed or your timer has told you). You can cool it for about 10 minutes but I really don't wait for that (lol).

10. Take a tablespoon and place it in the wrapper, fold it and then .. well, you have to try this recipe and let me know what you think!


This is definitely a CROWD PLEASER!

Tuesday, November 27, 2012

Breakfast for Dinner (Quiche)

I know this sounds crazy, my family sometimes eats breakfast for dinner on some days where in we all just get that craving for eggs, ham, pancakes and orange juice. I Love, Love (did I say Love?) breakfast! I personally was not a big quiche fan since my parents never really introduced it to me growing up.

My parents always made my sister and I..well what else? fried eggs, spam and fried rice! (notice the lovely word "fried") constantly?
My mom was a baker back home in the philippines but she only concentrated on making cupcakes & cakes, so she never really tried making a Quiche let alone introducing it to my sister and I.

I fell in love with Quiche's as it's the most easiest dish to prepare and also you can try different ingredients in it! Sort of an "All in one" kind of a dish. As long as the important (yummy) ingredients are in the Quiche, I can guarantee you, it will turn out as delicious as the one you get at high end markets.
My Quiche is semi-homemade as I'm a working mom and trying to incorporate less steps to any recipe really helps me alot.

Like I said, you can Add anything to a Quiche, in this case, I made a Vegetarian dish since I did not have any bacon on hand (sad face), if you do try the bacon, just fry it or bake it, then chop it up and just add it to your mixture.

Ok, here we go, this is what you'll need to prepare this dish:

*Recipe calls for 2 pies*

1 stick butter
1 whole large (or 2 medium onions), Thinly sliced
2 cups of white mushroom, washed and sliced
2 whole ready made Pie Crust ( I used Marie Calendar's), Thaw the Frozen Pie Crust about 20 mins
1 can quartered Artichoke hearts, drained
7 whole eggs
1-1/2 cup heavy cream
salt & pepper to taste
2 cups of grated swiss cheese ( I did not have this on hand, so I used sharp cheddar)
Optional: Fresh Chives or Fresh Parsley

1. Preheat your oven to 400 degrees.

                                                        2. Chop the mushrooms like so:


                                                           3. Thinly slice the onions:


4. In a skillet, melt the butter:
  

                                 5. Add the onions, cook for about 2-3 minutes until translucent


6. Add the chopped mushrooms to the onion, butter mixture, Season w/ Salt & Pepper and cook for another 10 minutes, set aside


7. Add the Artichokes into the mixture:


8. Crack the eggs into a bowl


9. Add the heavy cream and using a whisk, slowly whisk the mixture

                 
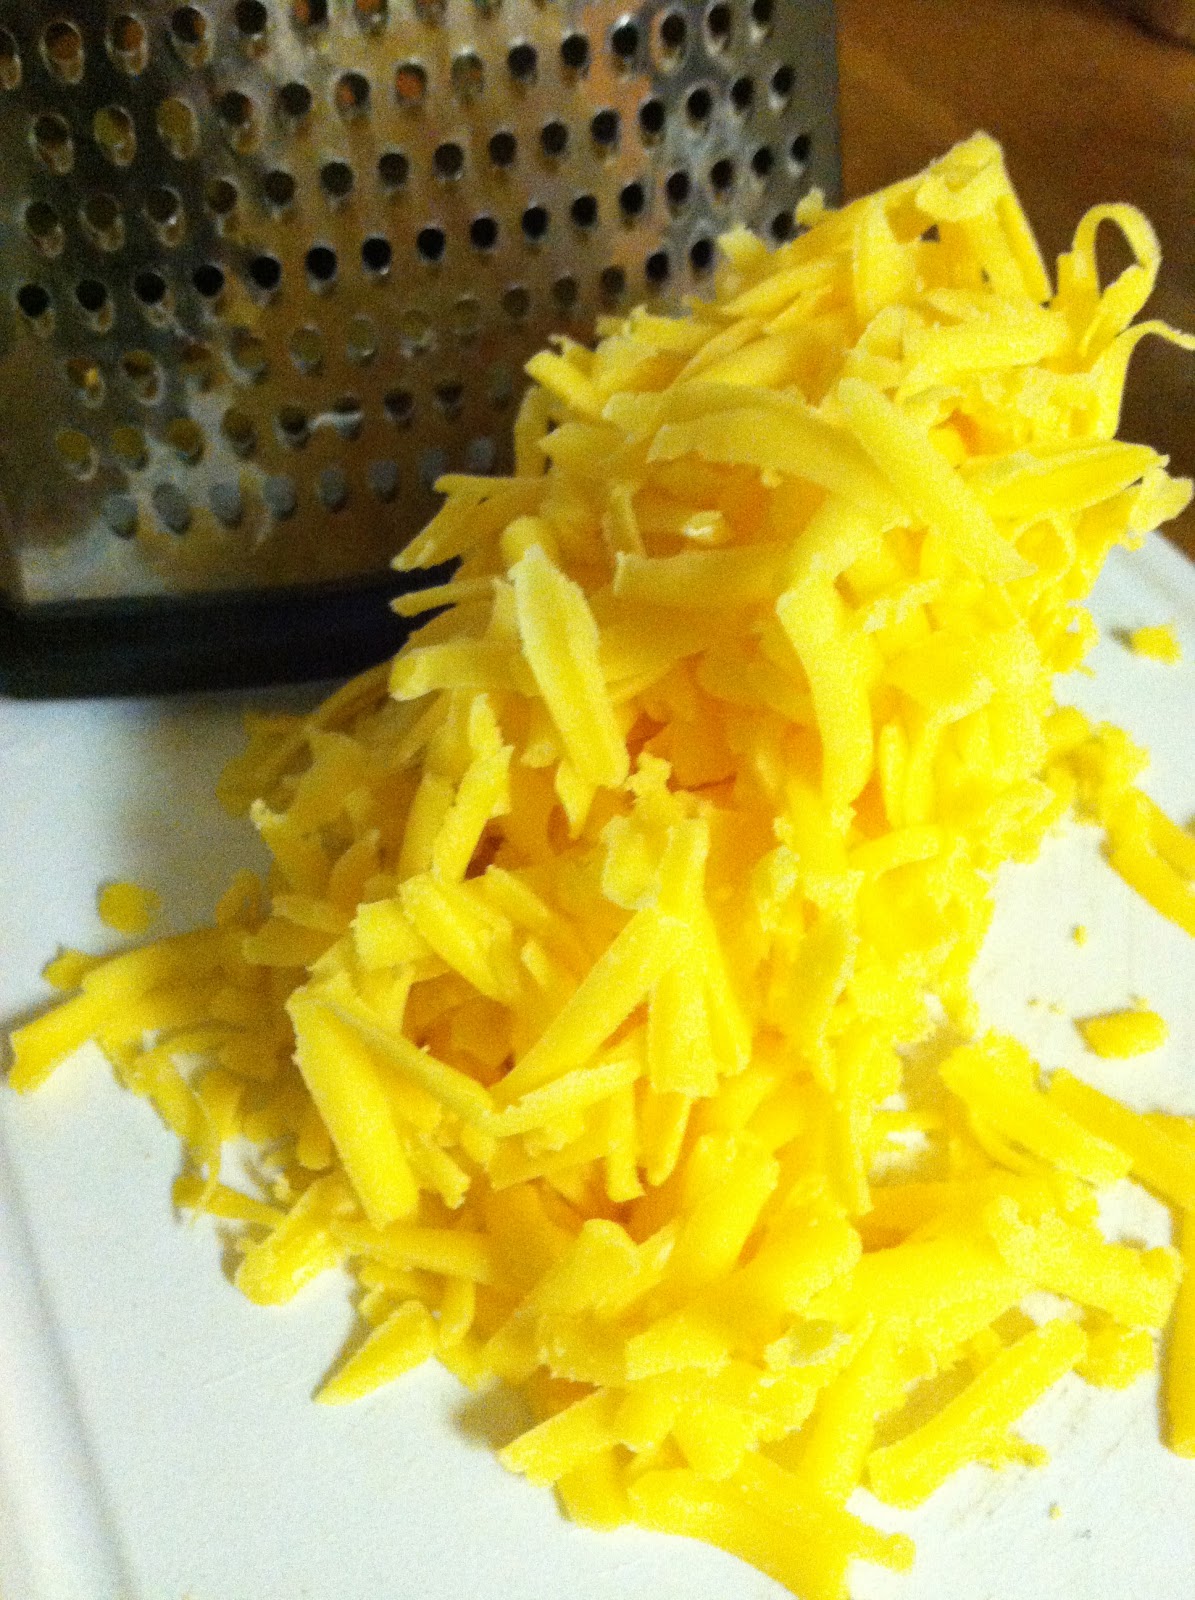
  10. Grate the cheese, I prefer a whole block of cheese to grate vs. a pre-packaged cheese ( the moisture is loss + you won't get that "stringy" effect) plus I can get my arm exercise too! After grating the cheese, Add this to the egg, heavy cream, artichoke, onion, mushroom mixture and using a fork, just slightly mix it until it's well incorporated.


                                           11. Once mixed, Pour the mixture in the pie crust:

As you can see, this recipe had enough for 2 pies, so I opted to make one that's crustless but because I only had 1 ready made pie in my freezer :-)

12. Place in the oven, and loosely cover it with foil. Let it bake for about 1 hour. If you see after an hour, the quiche is quite loose or jiggly, then place it back in the oven for a couple of more minutes.

And then, this will be the end result. Allow to cool and set for about 10-15 minutes and then slice them into wedges and voila! Doesn't the one with the Pie crust look good? You can slice them into wedges or like in our family, we sort of just get a fork and dig in.


    Happy Eating!
   
    Darlene


Wednesday, November 21, 2012

Girl Scout Mint Cookies Anyone?

I have to admit that every time the girl scouts come knocking at my door, I usually don't answer the door as I don't like to turn away and not buy anything from them to be honest, or I just don't have the funds to buy a box at that time (yes,  I know that sounds harsh), BUT I've gotten to not do that anymore as I slowly fell in love with their cookies.

One in particular that I totally did not care for is the Mint Cookies, I was never a mint fan, even with it being in ice cream and let alone in a cookie!

So here's how I ended up making this:

My son's school was hosting a Holiday Fair and I volunteered to bake. As I accepted that task, with perfect timing, my oven decided to part ways, unfortunately.  So it turned out that I had to immediately think of a recipe that required no baking, I had less time to prepare and less time to actually make it.

I came up with this recipe which I called Thin Peppermint Cookies.  The only cooking part was making the chocolate dip other than that, it's semi-homemade and easy to do!

I was pretty surprised at how easy this was going to be! It's a great gift for the holidays if your thinking of giving this away as treats for your friends and family and it costs way less than popular brands out there.

Give this simple recipe a try!

Here is what you need:

**1-2 c milk chocolate chips
**1-2 c semi-sweet chocolate chips
1/8 (dash) of peppermint extract
15-20 Andes Chocolate Mint
1 Box of Nabisco Famous Chocolate Wafers

**Note: Reduce the amount of chocolate chips to 1 cup if you are only using 1 box of the Nabisco Chocolate Wafers as this makes a lot of the chocolate mixture.

1. When it comes to melting the chocolate, I usually prefer the slower and safe method rather than having it to melt in the microwave. If you really have to use the microwave, then I remove the chocolate after 30 seconds, then put it back in for another 30 seconds intervals until the chocolate it melted. In my opinion, I choose not to do this method as I always end up with burnt chocolate chips and I end up wasting it and throwing it away. This time, I  took an empty medium pot, added water (half way) and simmered it, while the water is simmering (not boiling), I took another empty bowl and placed it on top (but make sure the bowl does NOT touch the water).

2. Pour in both the milk chocolate chips and semi-sweet chocolate chips, just like the picture below:

please make sure to constantly stir it every so often until it gives a nice smooth, glossy consistency
4. Next, once the chocolate has melted, remove from heat and throw in the Andes Mints and continue to stir until the Andes mints have been incorporated into the chocolate mixture.
5. Once it's all mixed in, Add a dash or 1/8 tsp of the Peppermint Extract and stir:
6. Take one of your chocolate wafers and with a fork, dip the whole cookie and then remove it trying to shake the excess off the cookie. In this case, I ended up just coating it on one side as I was in a hurry and trying to get these cookies in a holiday tin can. 

7. In a large baking sheet lined with parchment paper, place the newly dipped cookie on the baking sheet to cool for about 30 minutes. 


8. You'll notice that I kind of got tired of the solid chocolate layer, so I ended up getting a fork, dip it in the chocolate mixture and drizzled it on top of the cookie. 


Well, I hope one day you'll give this a try or if your thinking of what to serve for a small dinner party at home, this I think is a perfect dessert accompanied by hot tea to end the evening. 

- Darlene
 
SITE DESIGN BY DESIGNER BLOGS